
How To Light The Pilot On A Gas Fireplace: A Step-By-Step Guide
Welcome to the 1800 Chimney blog, where we share expert advice on everything related to your chimney and fireplace needs. In today’s post, we’ll discuss a common task for gas fireplace owners: lighting the pilot. Our step-by-step guide will provide clear instructions and safety tips to ensure your gas fireplace works efficiently and safely. So, let’s dive in and learn how to light the pilot on a gas fireplace!
Step 1: Locate the Pilot Assembly and Control Knob
The first step in lighting the pilot on your gas fireplace is to locate the pilot assembly and control knob. The pilot assembly is typically located near the gas control valve, which can be found behind the fireplace’s bottom panel or behind a removable access panel. The control knob will be labeled with words such as “pilot,” “on,” and “off.”
Step 2: Turn Off the Gas and Ensure Safety
Before you begin, ensure that the gas control knob is in the “off” position and that the main gas supply to the fireplace is also turned off. Wait a few minutes to allow residual gas to dissipate before proceeding. This step is crucial for your safety and the proper functioning of your gas fireplace.
Step 3: Turn the Control Knob to the Pilot Position
Next, turn the control knob to the “pilot” position. This will allow gas to flow to the pilot light when you ignite it. Follow the manufacturer’s instructions for your specific fireplace model, as some may have unique steps.
Step 4: Ignite the Pilot Light
Now, it’s time to ignite the pilot light. Hold a long-reach lighter or a long match near the pilot assembly. While keeping the flame close to the pilot, press and hold the control knob or ignition button (depending on your fireplace model) to release gas. The pilot should ignite within a few seconds. If it doesn’t, release the control knob, wait a minute for the gas to dissipate, and try again.
Step 5: Keep the Control Knob Pressed
Once the pilot is lit, continue to hold the control knob or ignition button for about 30-60 seconds. This allows the thermocouple to heat up and recognize that the pilot flame is present, ensuring the pilot stays lit when you release the knob.
Step 6: Turn the Control Knob to the “On” Position
After the thermocouple is heated and the pilot is stable, slowly release the control knob and turn it to the “on” position. Your gas fireplace is now ready to be used!
Step 7: Test the Fireplace
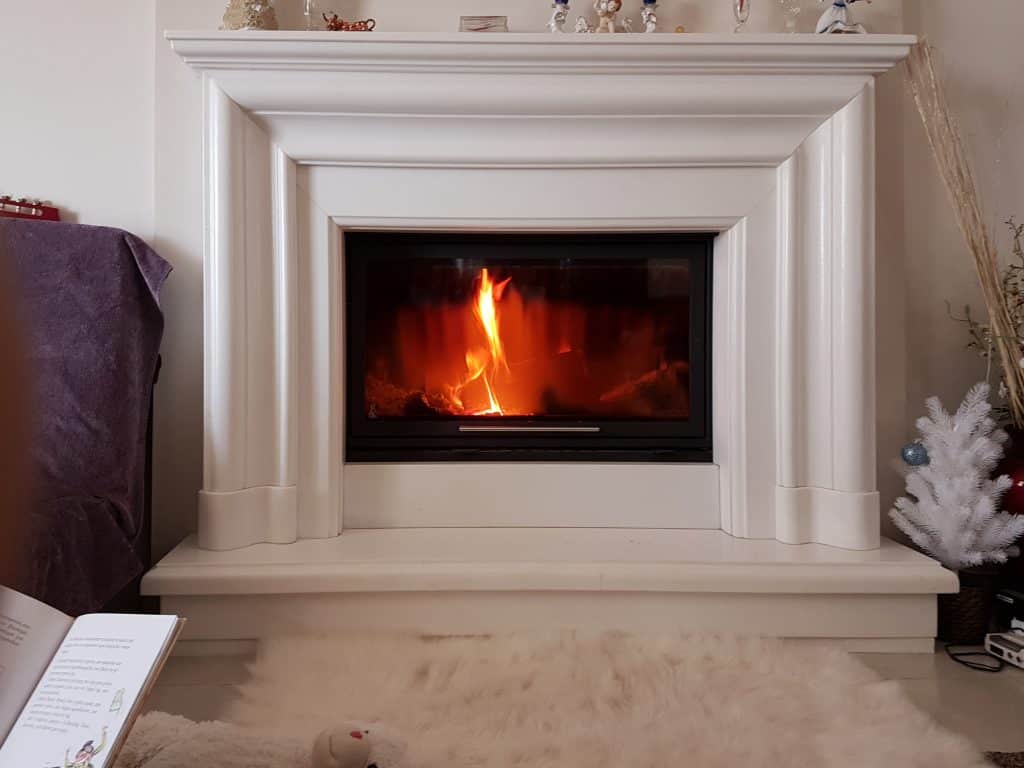
To ensure your fireplace functions correctly, turn on the main gas supply and use the fireplace remote or wall switch to ignite the main burner. Observe the flame pattern and make sure it burns evenly and consistently. If everything looks good, congratulations! Your gas fireplace is now properly lit and ready for use.
Learning how to light the pilot on a gas fireplace is essential for gas fireplace owners. By following our step-by-step guide, you can ensure the safety and efficiency of your fireplace while enjoying the warmth and ambiance it provides. Remember, it’s always best to consult a professional if you ever encounter issues or are unsure about any steps.
At 1800 Chimney, we’re dedicated to providing top-quality chimney and fireplace services. Don’t hesitate to contact us if you need assistance with your gas fireplace, chimney cleaning, or chimney repair. Our team of experts is here to help you with all your chimney and fireplace needs. Contact us today to learn more about our services and schedule an appointment!